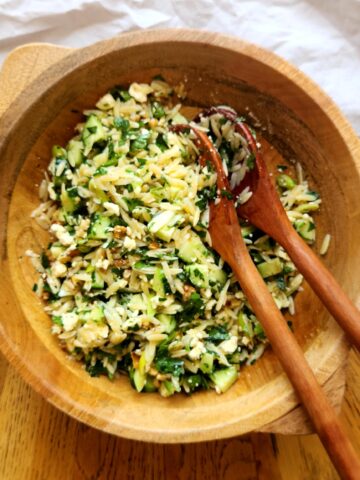
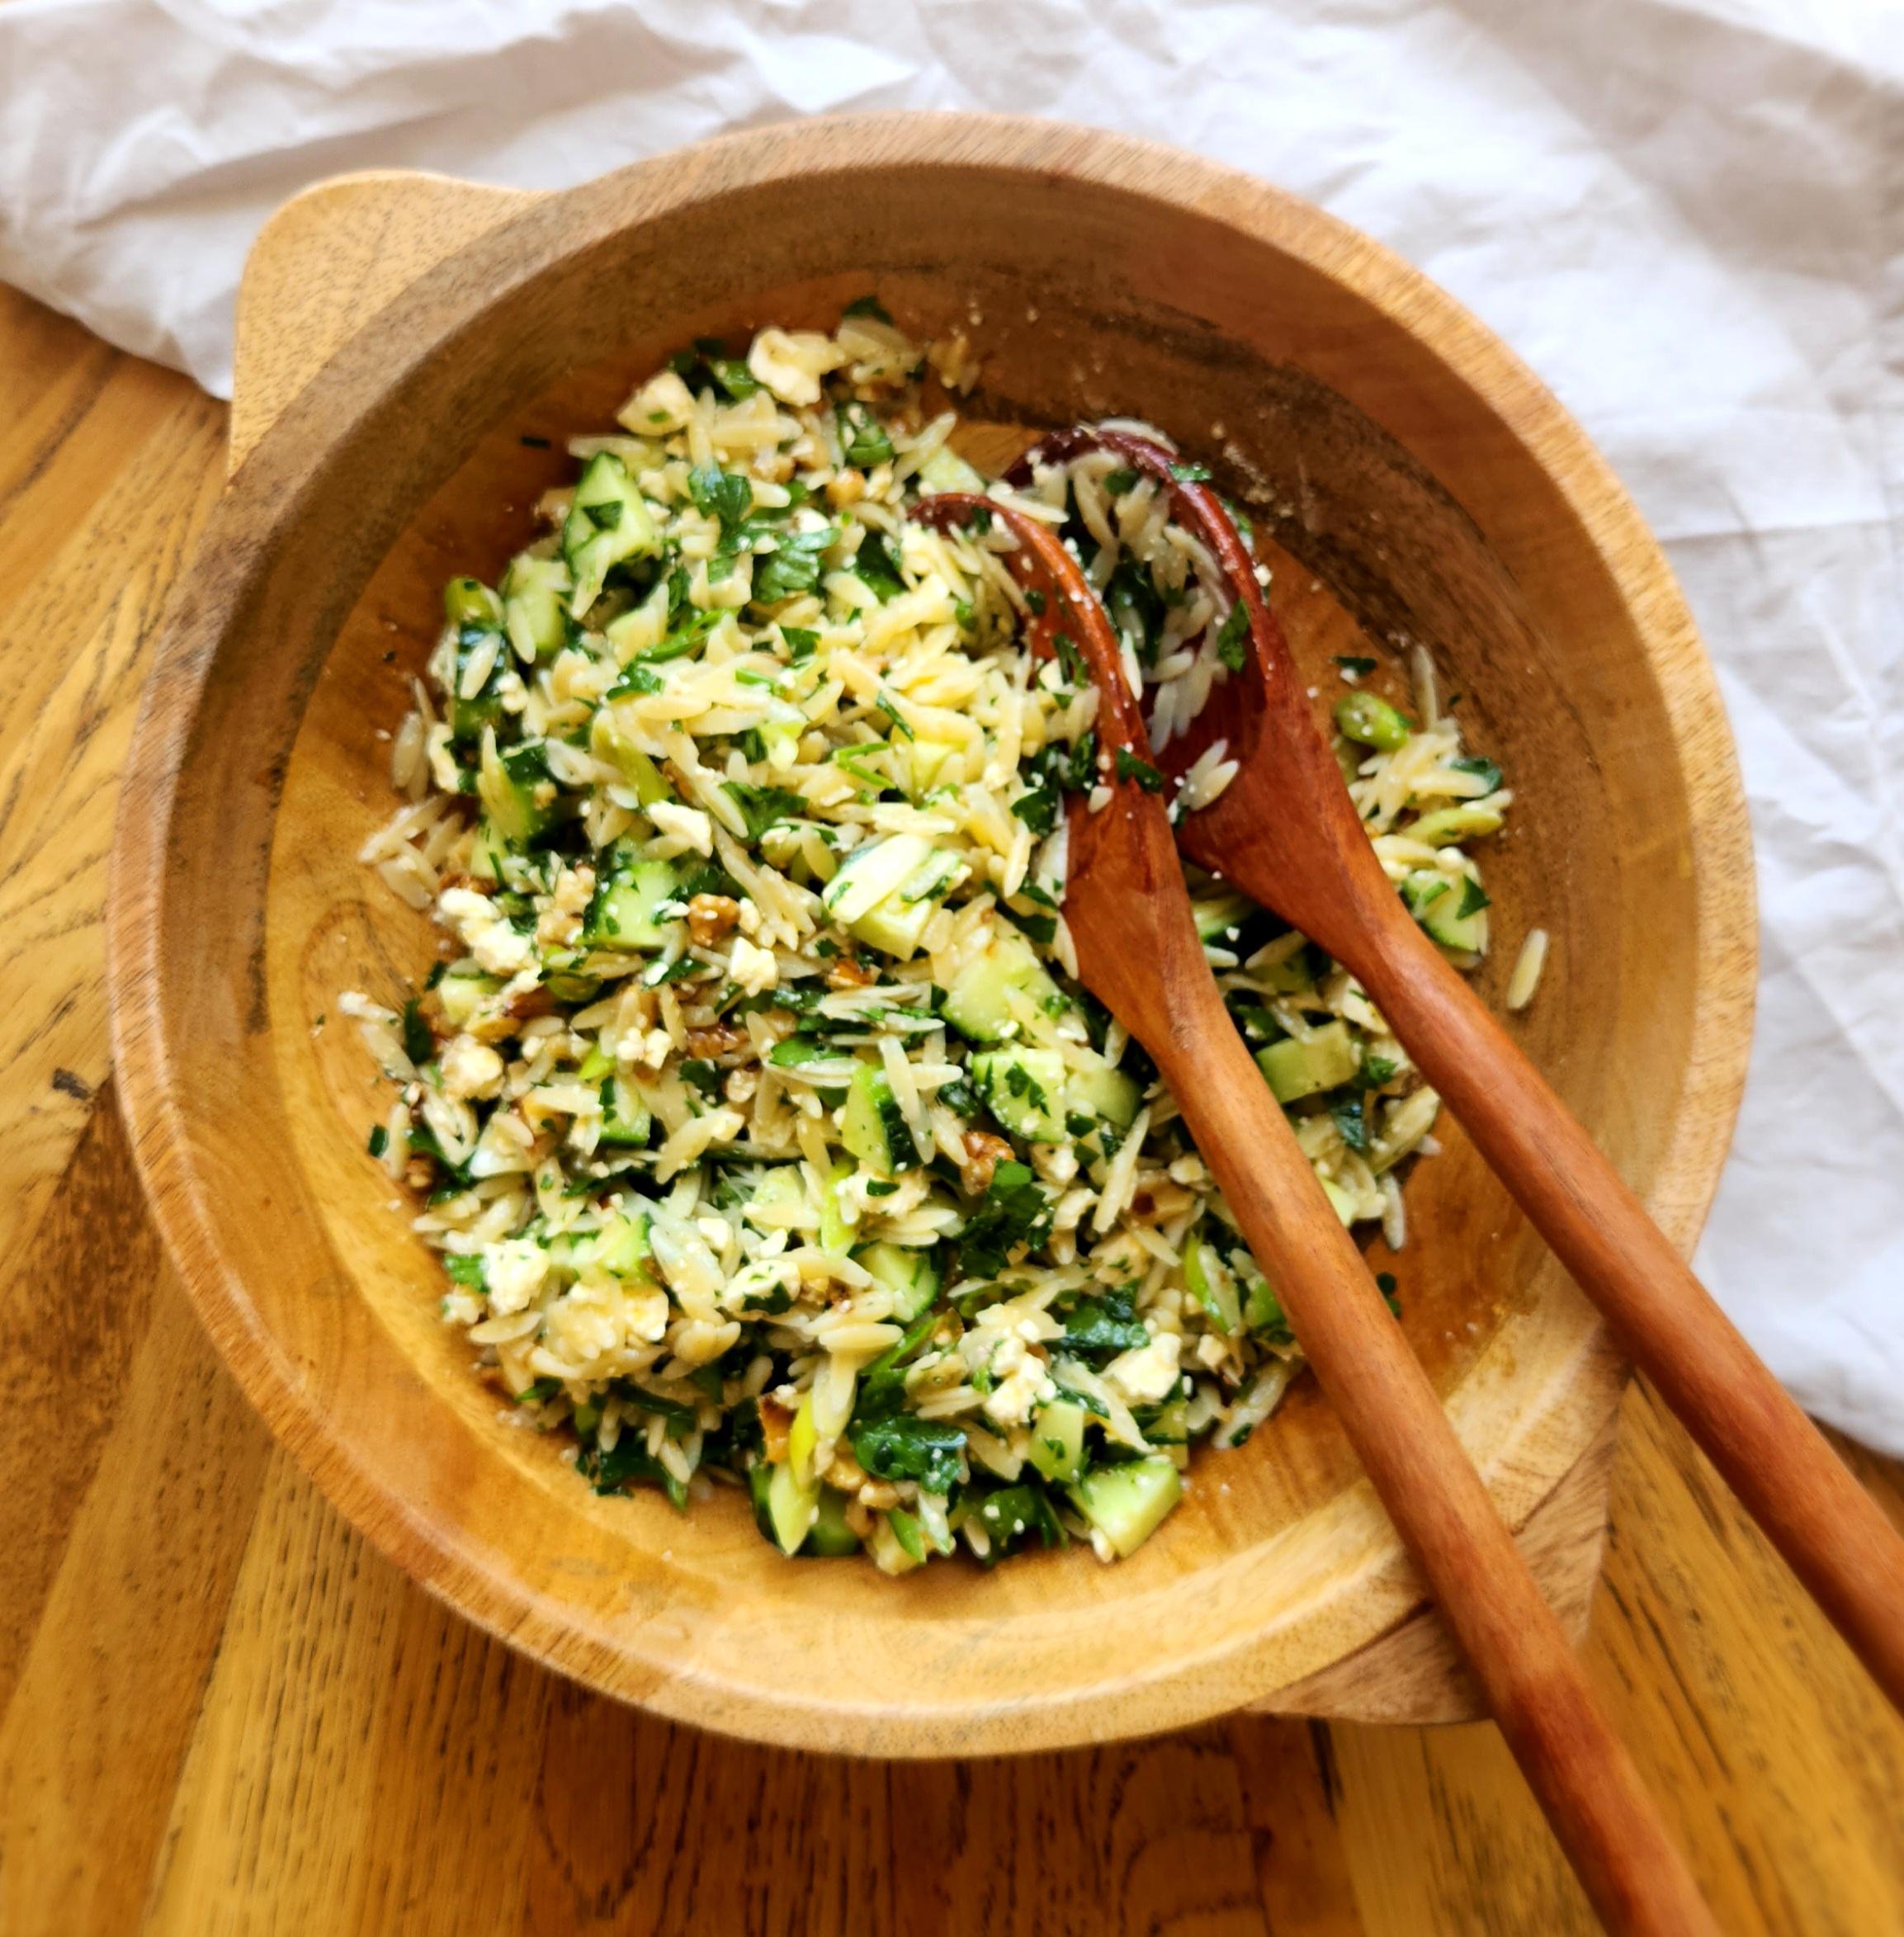
Cucumber and feta salad is one of the easiest salads I make and its also scrumptious, so lets get into it! Cooked and cooled risoni pasta makes the base of this salad, then all the fresh ingredients are added and lastly the feta and dressing. Its one of those dishes you can make with your eyes closed, it pulls together quickly, and saves me when we have last minutes dinner guests.
Cucumber has a high water content and helps in keeping us hydrated, so I like to add it to as many meals as possible during the warmer months when its in season. I love its mild taste and crunchy texture.
Spring onion is easy to grow and easy to add into any dish, the flavour can be dialled up or down. Spring onions are great fresh and even better when char grilled or lightly roasted.
Parsley is one of my favourite herbs. Its light and delicate flavour makes it the perfect addition for salads, soups, dressings and of course parsley makes the best garnish on every dish. My go to herb!
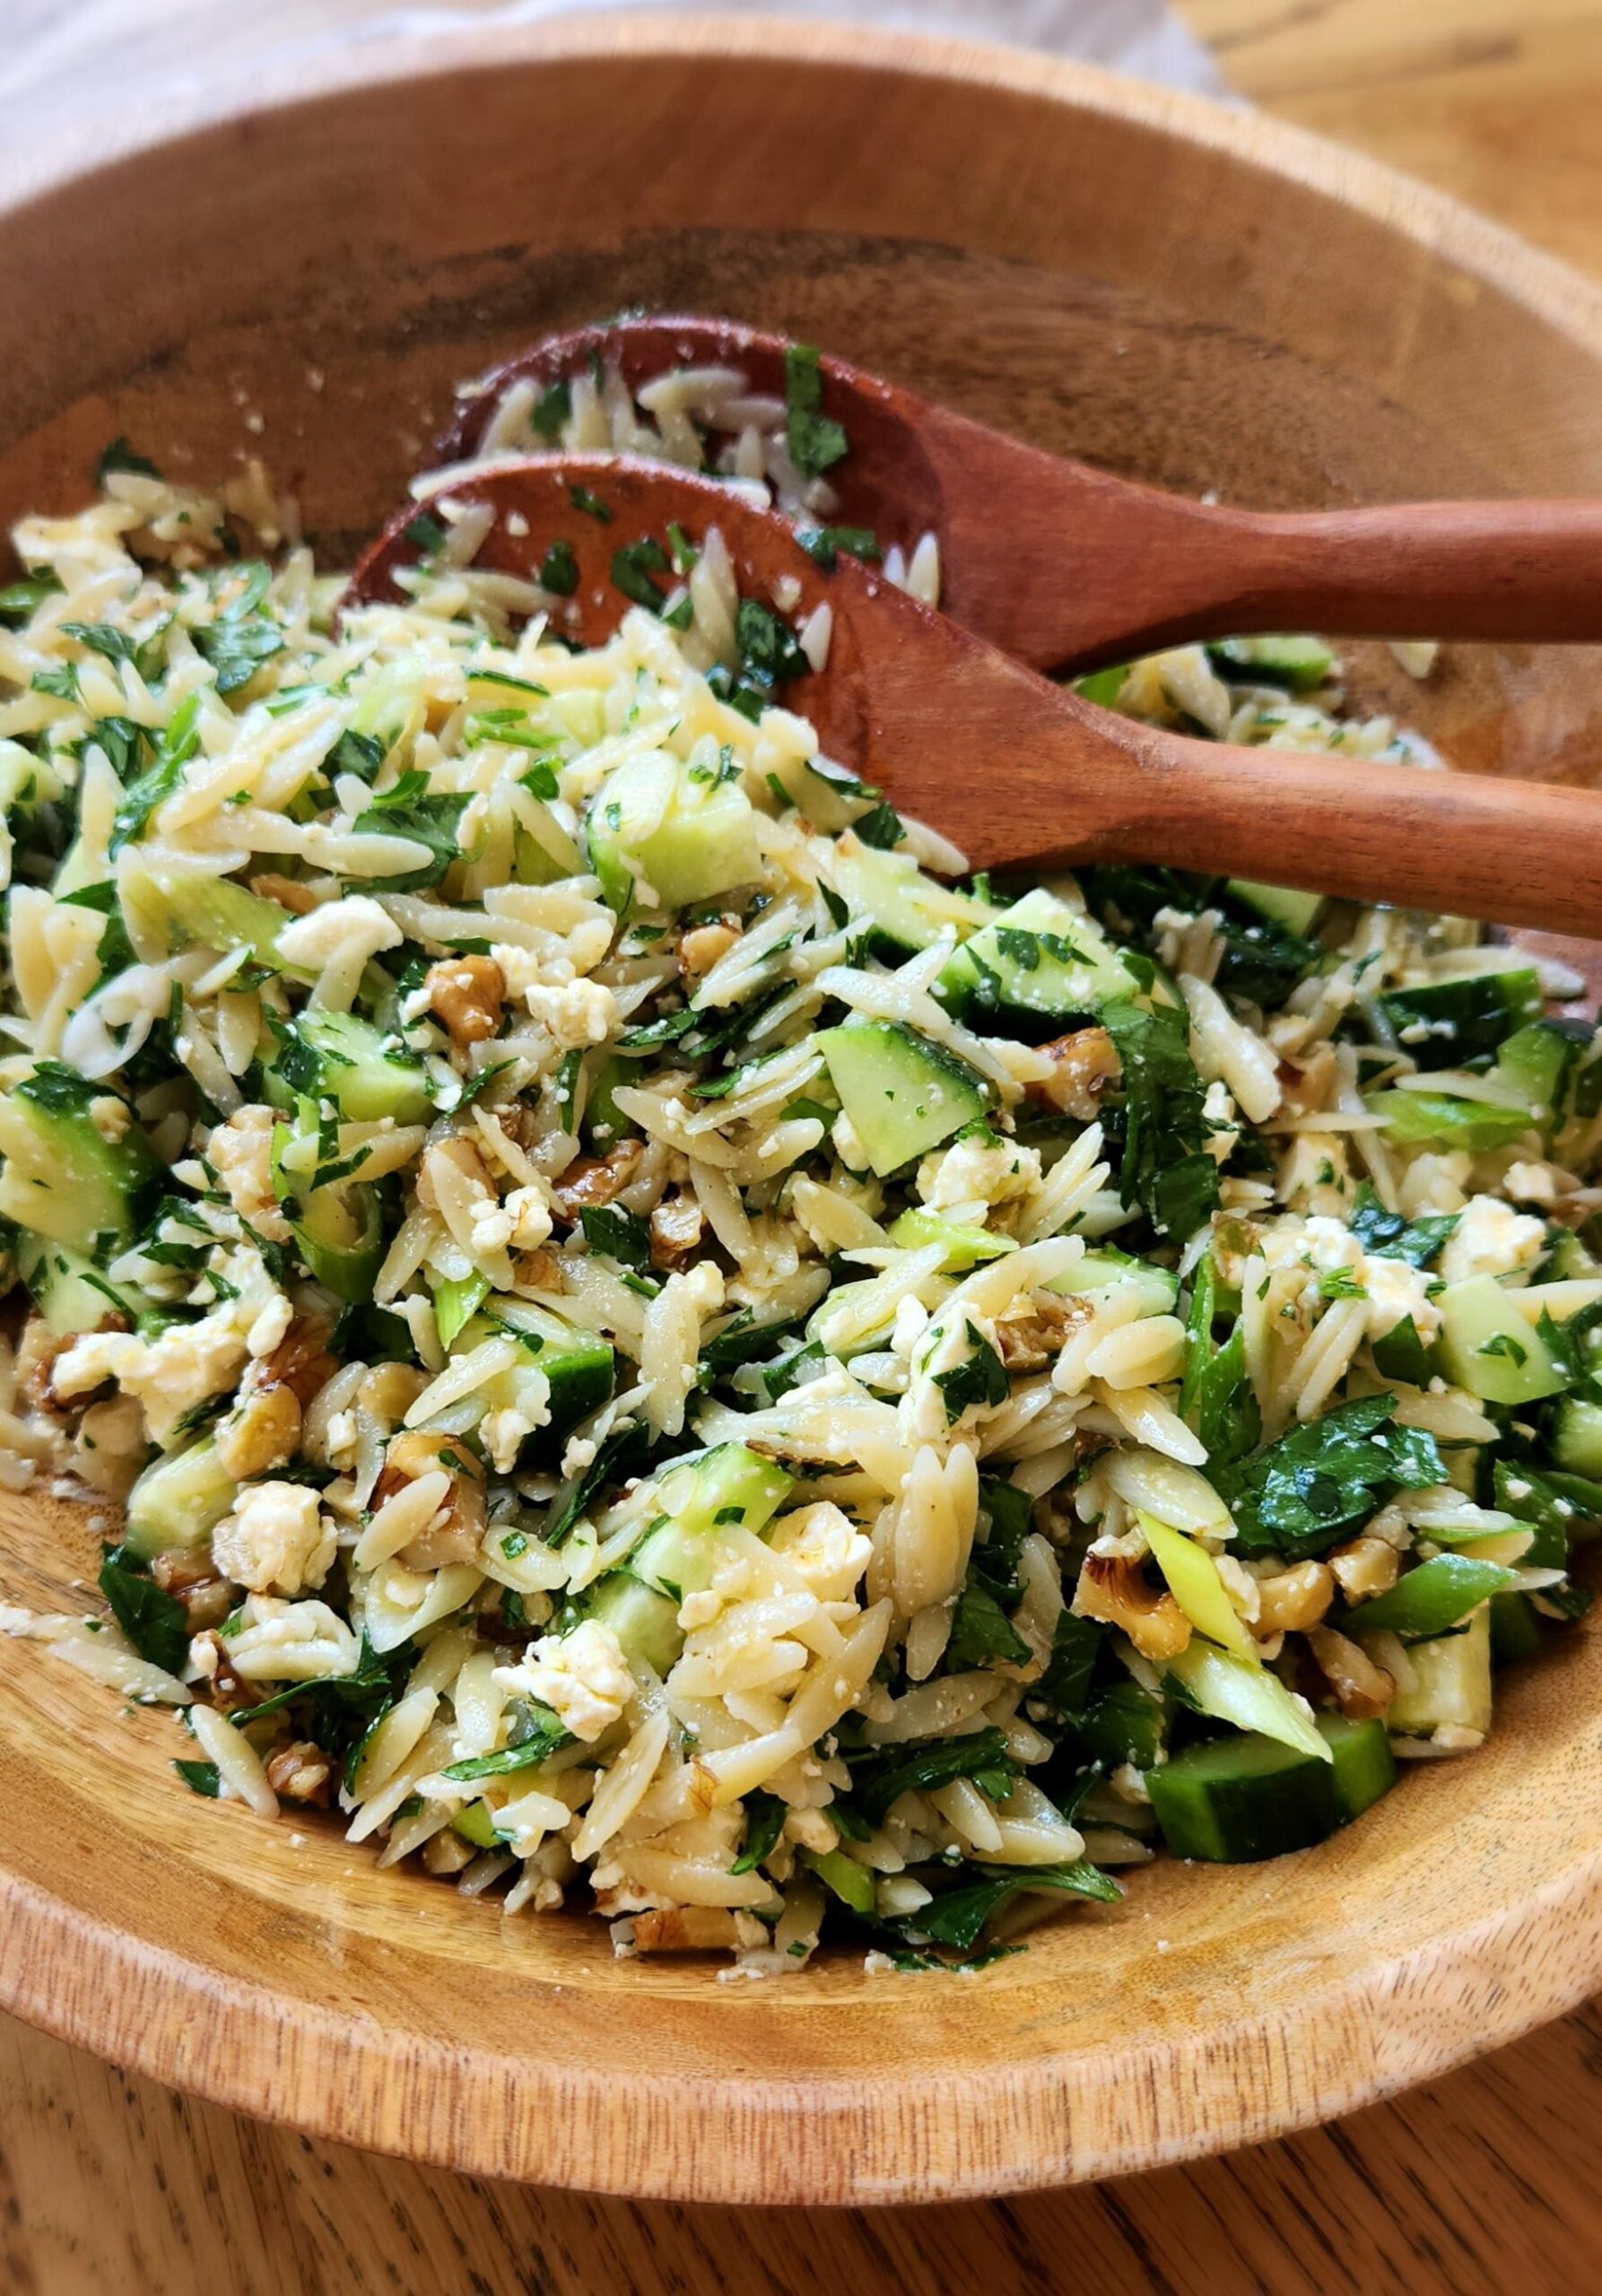
Seasonal cucumber, spring onion and parsley put the salad in this pasta salad. A delicious trio!
[feast_advanced_jump_to]Ingredients
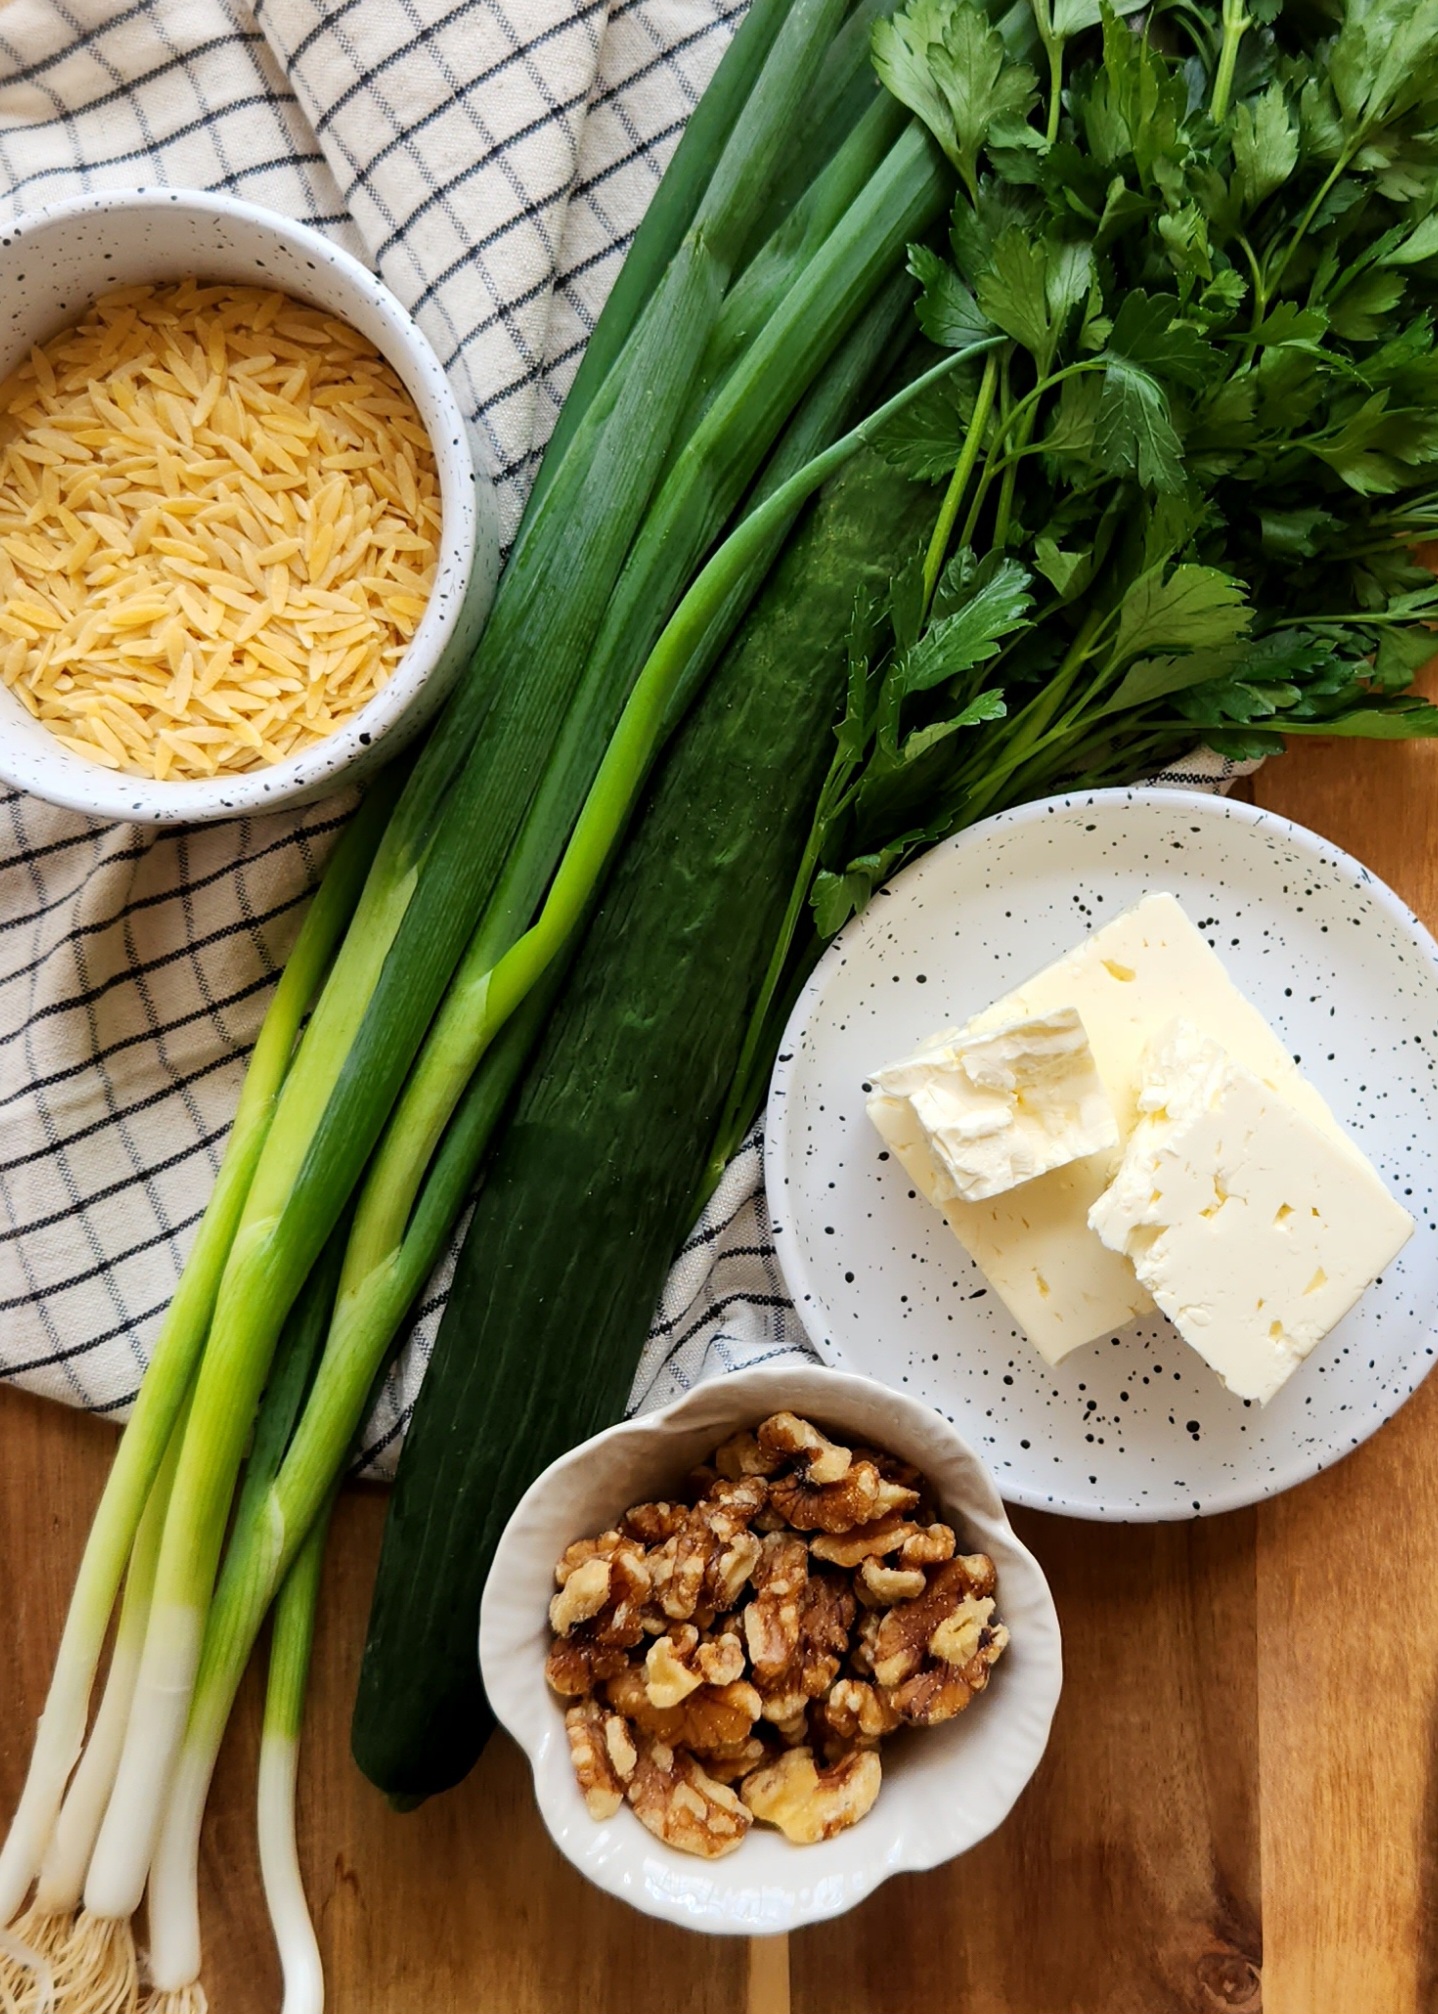
- cucumber - for texture and the flavour of spring and summer
- spring onion - for a little onion punch in each mouthful
- parsley - a delicate herb to balance out the spring onion and garlic from the vinaigrette
- feta cheese - saltiness and texture, feta cheese is a big favourite of mine and its the perfect crumbly cheese in this salad
- walnuts - got to get those omega 3s in somewhere! But, also walnuts add lovely texture and flavour to the salad
See recipe card for quantities.
Instructions
Add link for garlic vinaigrette, separate post.
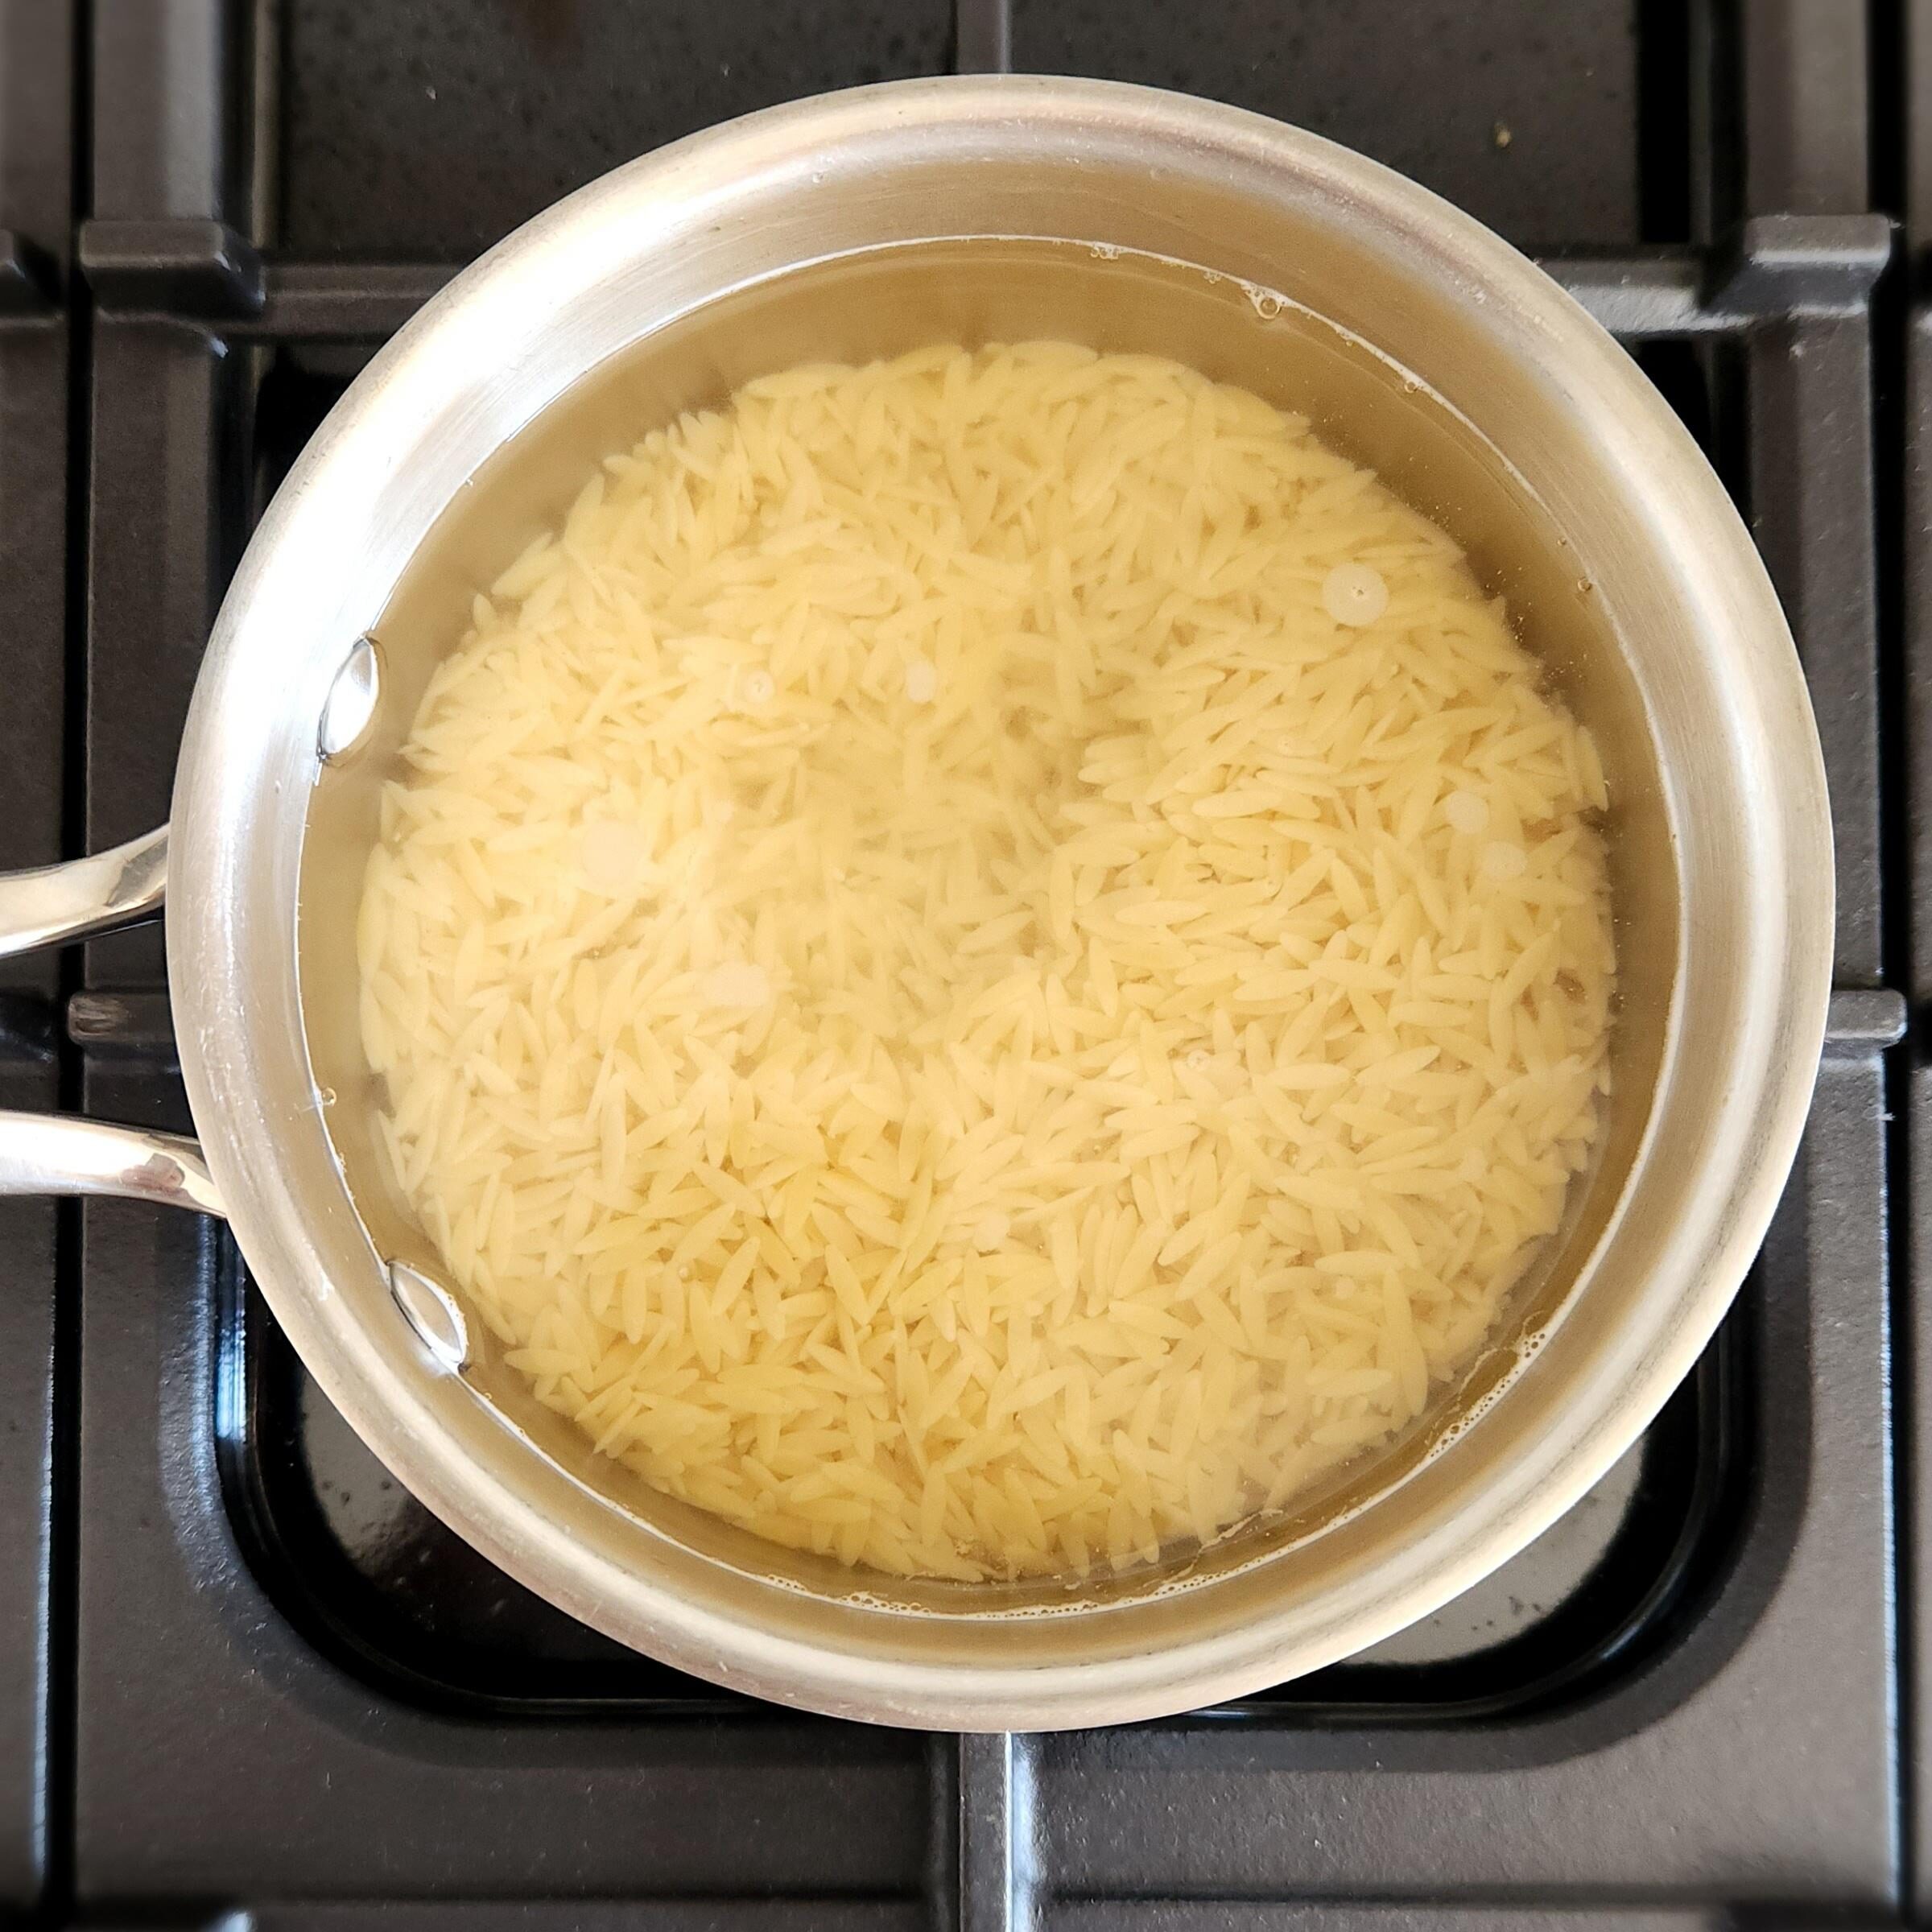
- Step 1: Cook and cool the risoni pasta, then transfer to a large bowl
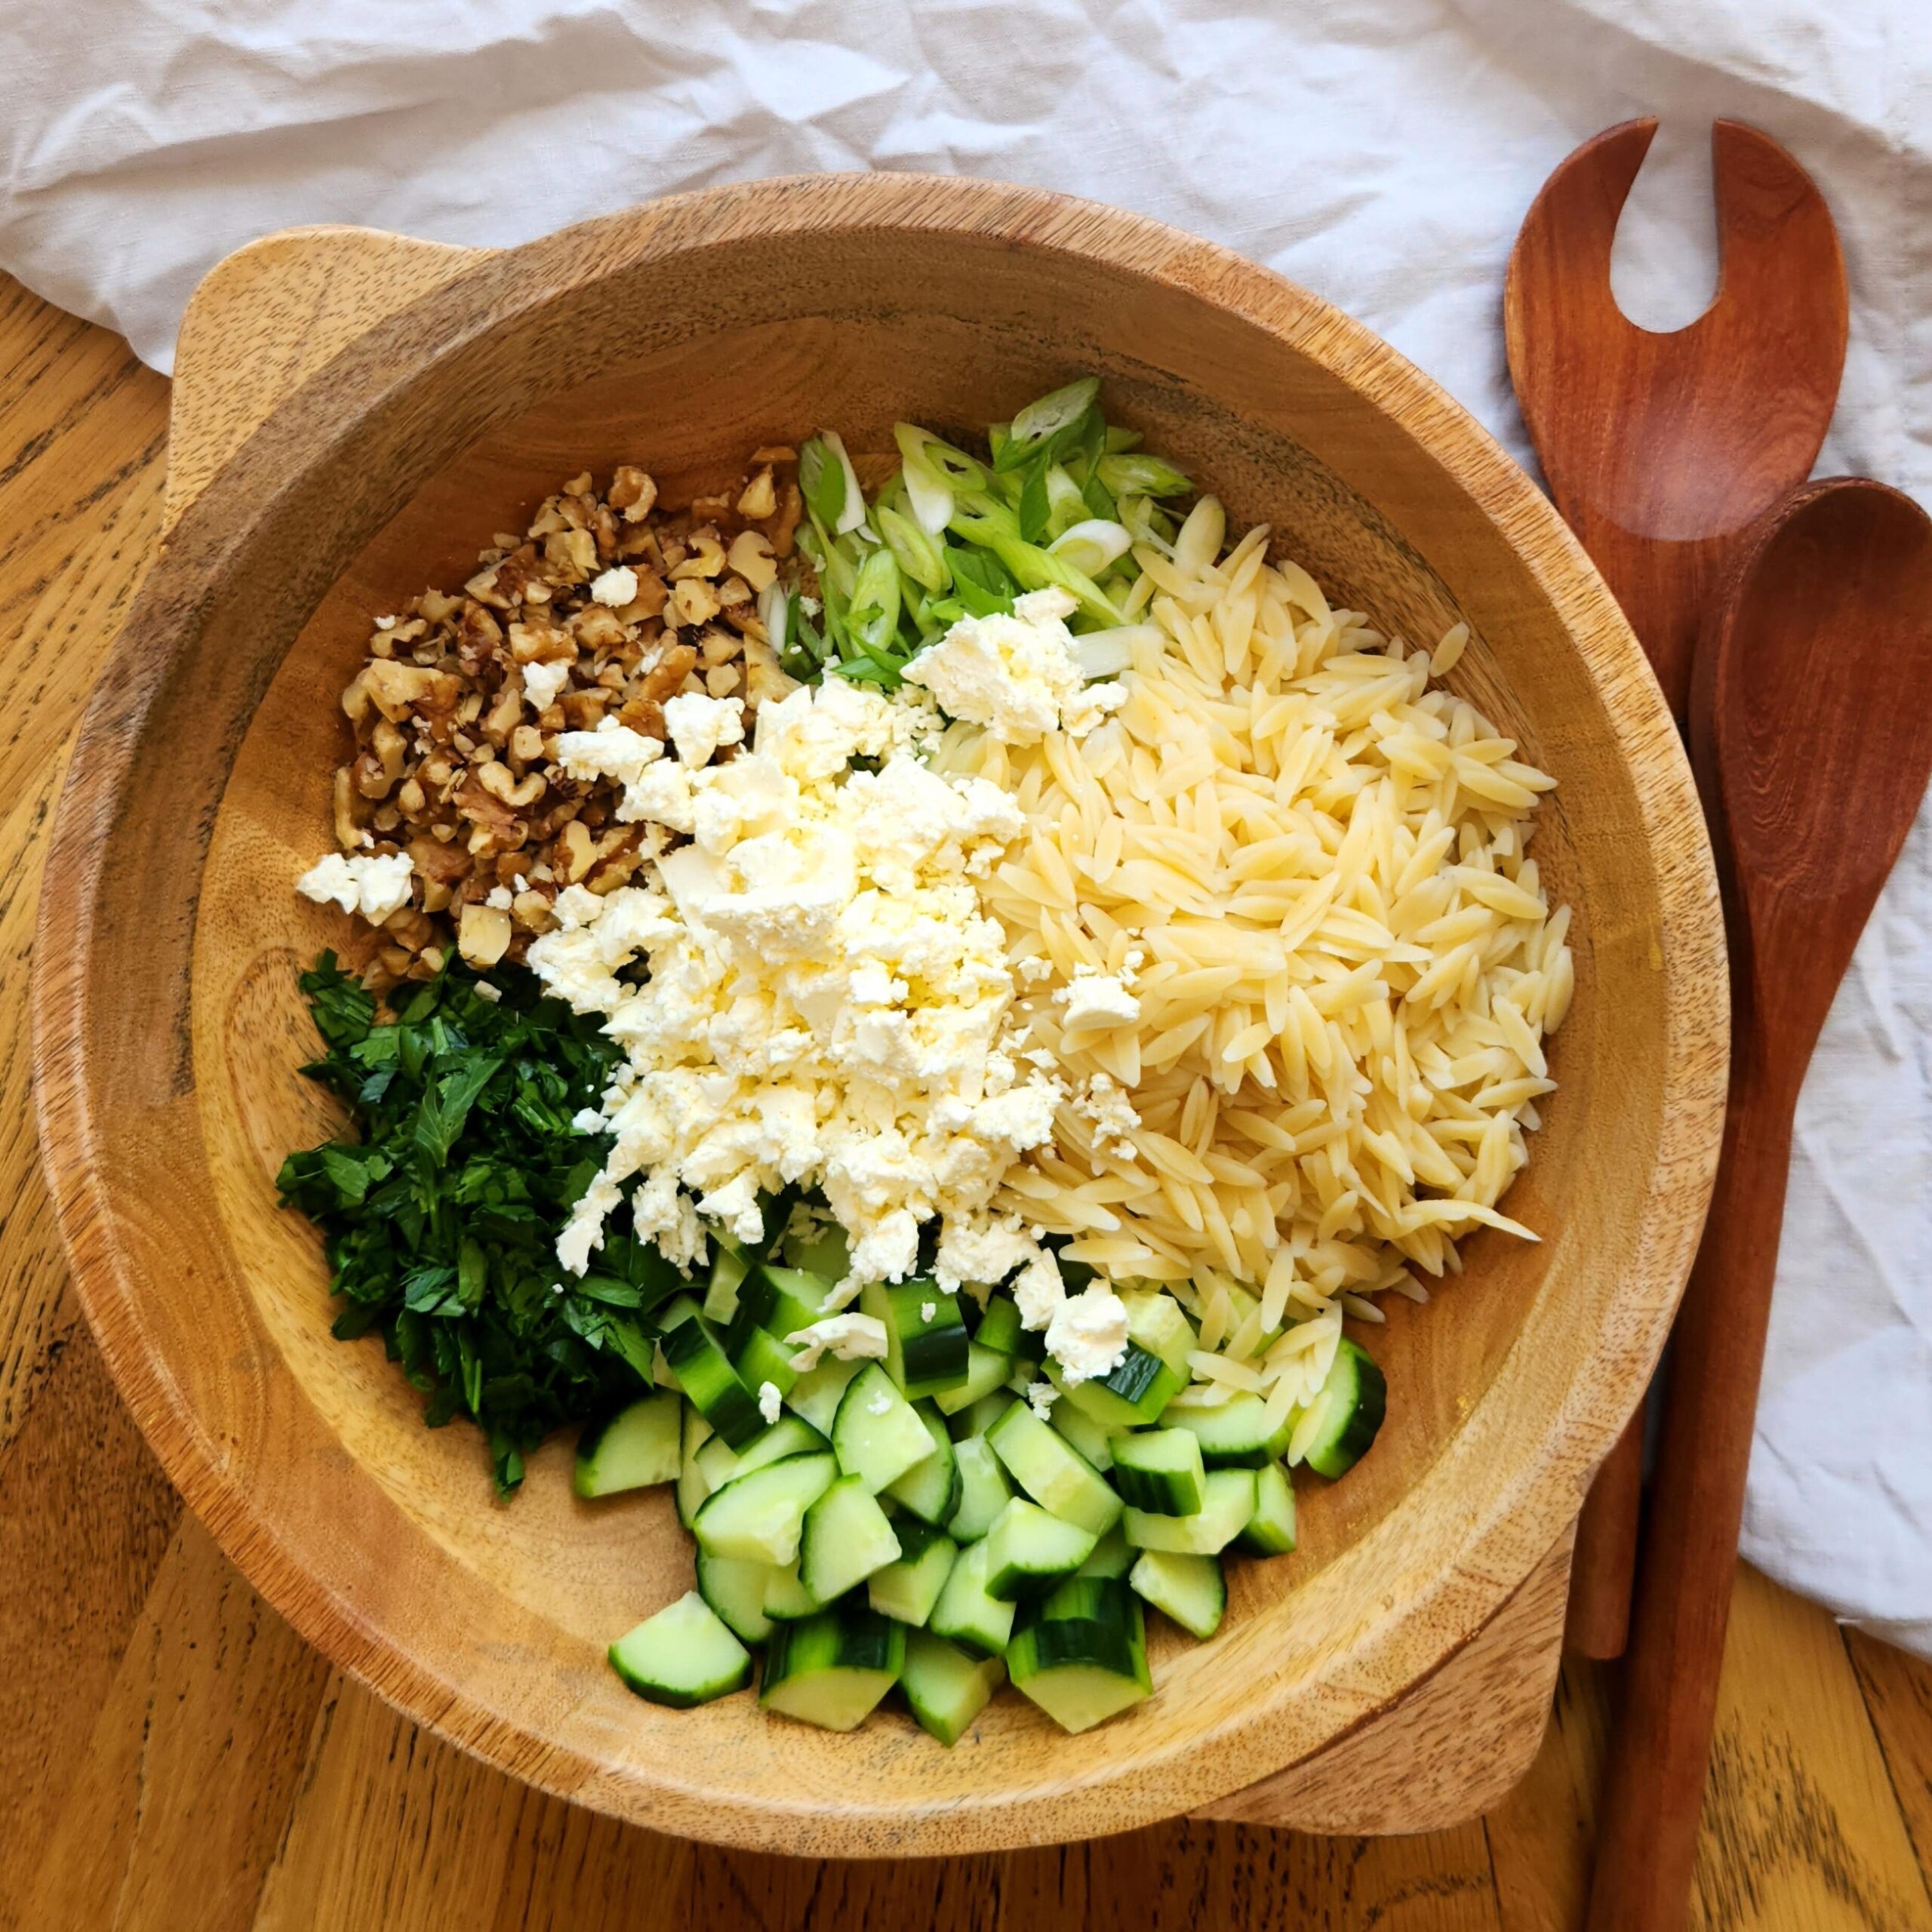
- Step 2: Chop up the cucumber, spring onion, parsley and walnuts, and add the pasta
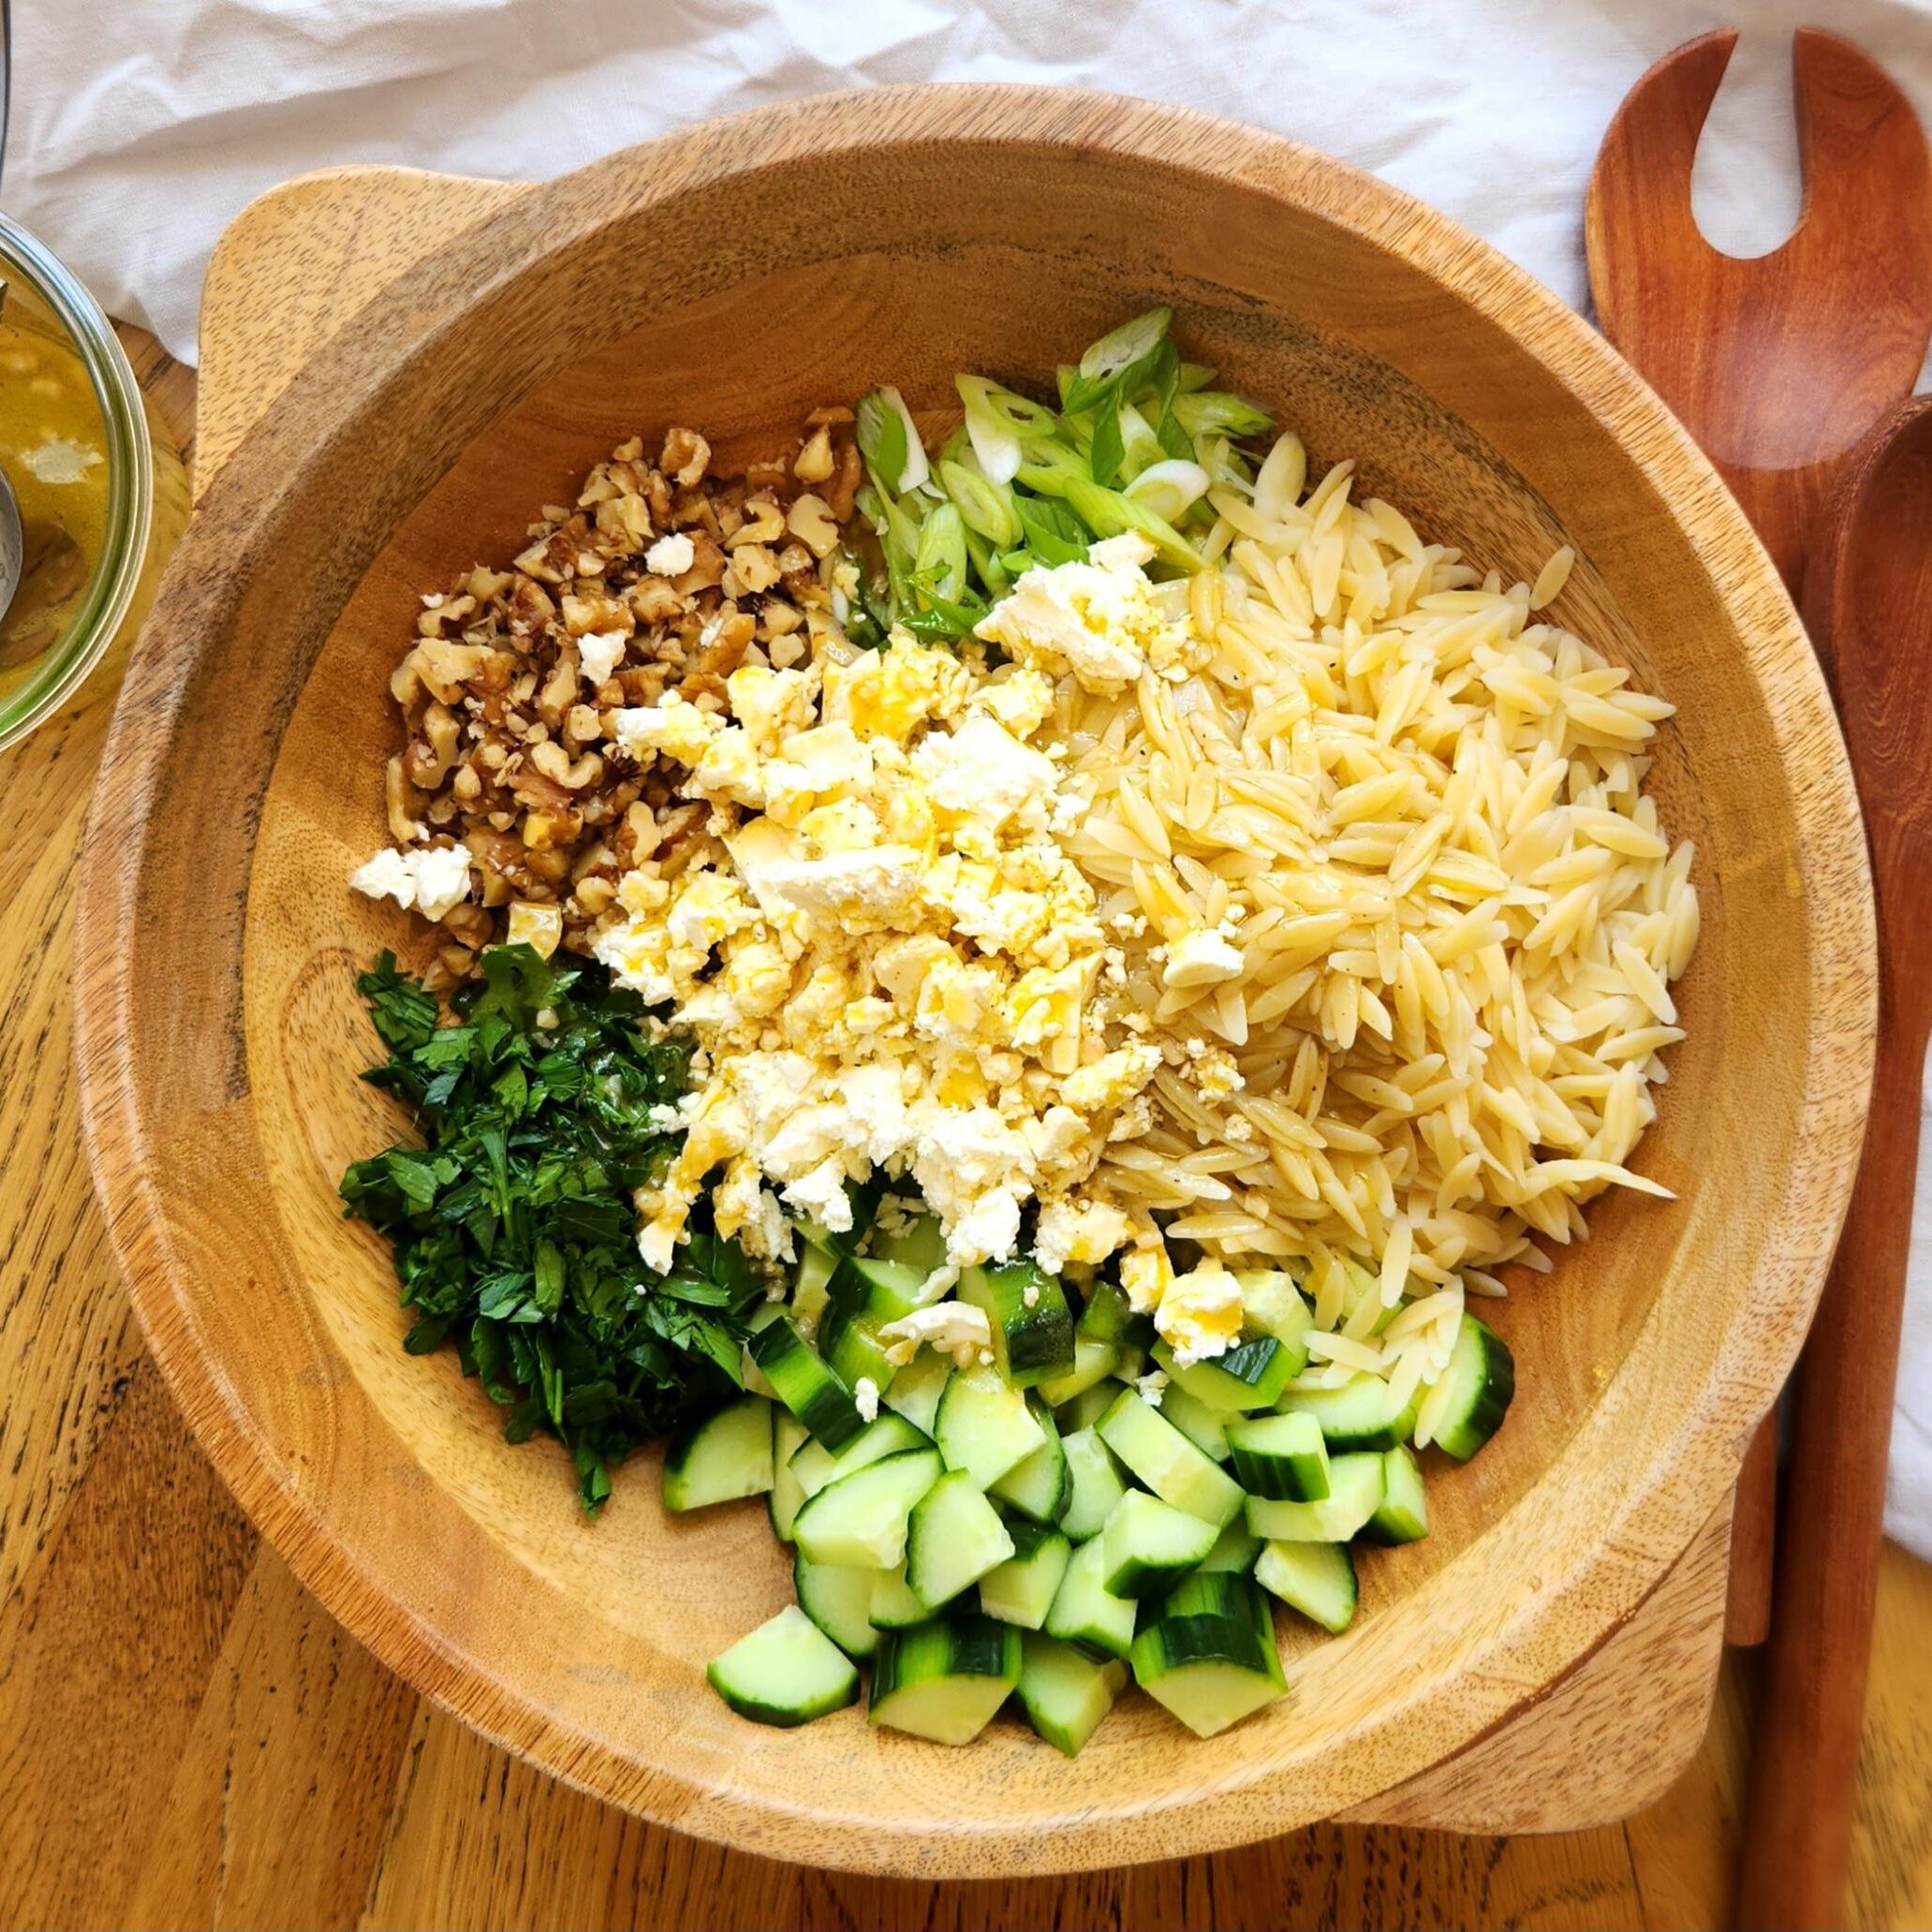
- Step 3: Add the crumbled feta and dressing
- Step 4: Toss together and allow to sit for 5-8 minutes before serving
Hint: cooked and cooled pasta is the way to go, as you can prepare a little before hand. You can also chop the cucumber and spring onion and store in airtight containers in the fridge before you need it.
And always make the salad dressing, for all salads, in advance. They're better the longer the ingredients get to mix together.
Substitutions and Variations
If the pasta, feta cheese and salad dressing are the base, everything else can be changed up to suit your preferences and even seasonal produce. I've use this base for roasted vegetables, as well as salad greens, and all variations are so good and make tasty dishes. Here are some of my favourites.
- Spinach - adding chopped spinach for extra nutrition is lovely in this salad
- Pasta - use gluten free pasta, as long as its small, like risoni
- Chives - swap spring onion for chives
- Cheese - swap feta cheese for grated parmesan cheese. Its not the nicest looking replacement, but it tastes delicious
- Nuts - chopped almonds, pine nuts or macadamia nuts are all great here
- Roasted vegetables - instead of fresh typical salad ingredients, add roasted vegetables like carrot, red onion, zucchini and red capsicum
- Candied walnuts - my candied walnuts recipe is delicious in this salad, they add a hint of sweetness and crunch, so good!
Equipment
Every kitchen needs an oversized timber serving bowl. They look great and can be used for every event or just filled with fruit on the kitchen bench. Here are a few I love!
Storage
Store the salad in an airtight container in the fridge, it will keep for 2-3 days. Before serving, drizzle a little more dressing over the top and allow the salad to reach close to room temperature too.
Top Tip
To prolong the life of store bought parlsey, wash the bunch, pat it dry, pop the bunch into a jar with filtered water, as you would flowers. Then using a freezer bag, cover the parlsey and put it in the fridge. Uncover and tear off what you need as you go, making sure to put the freezer bag back over the bunch. This will keep your parsley fresh for 2 weeks.
Related
Looking for other recipes like this? Try these:


Pairing
These are my favorite dishes to serve with cucumber and feta pasta salad:


Cucumber and Feta Salad
Ingredients
Method
- Cook the pasta as per the packet instructions, then strain and cool under cold running water. Chop the remaining salad ingredients, crumble the feta and combine all the salad ingredients in a large bowl.
- Make the vinaigrette and pour over the salad. Allow to sit for 5 minutes before serving, so all the flavours can come together. Enjoy!